Lava lamps, with their mesmerizing slow-moving blobs, have been a popular decor item since the 1960s. Whether it’s for their retro charm or soft, ambient lighting, a malfunctioning lava lamp can put a damper on its allure. Fear not, as we delve into the world of DIY lava lamp repair to help you decide when it’s feasible to fix it yourself and when it’s time to seek a replacement.
Understanding Your Lava Lamp’s Anatomy
Before you decide to repair or replace your lava lamp, it’s important to understand its components. A typical lava lamp consists of a metal base and cap, a glass bottle filled with colored wax and a liquid mixture, and an incandescent bulb that heats the wax. Knowing these parts can help you troubleshoot common issues.

Common Problems and DIY Fixes
Several issues can affect your lava lamp’s performance, ranging from cloudy liquid to non-moving wax blobs. Here, we cover the most common problems and how to address them:
– **Cloudy Liquid**: Sometimes, the liquid in your lava lamp can become cloudy. This is often due to the lamp being shaken or moved while it’s warm. Letting it sit undisturbed for 24-48 hours might clear it up. If not, consider a liquid replacement using a safe guide found online.
– **Non-moving Wax**: If the wax stays at the bottom or top, the problem might be the bulb. Replacing it with the correct wattage can solve this issue.

When to Replace the Bulb
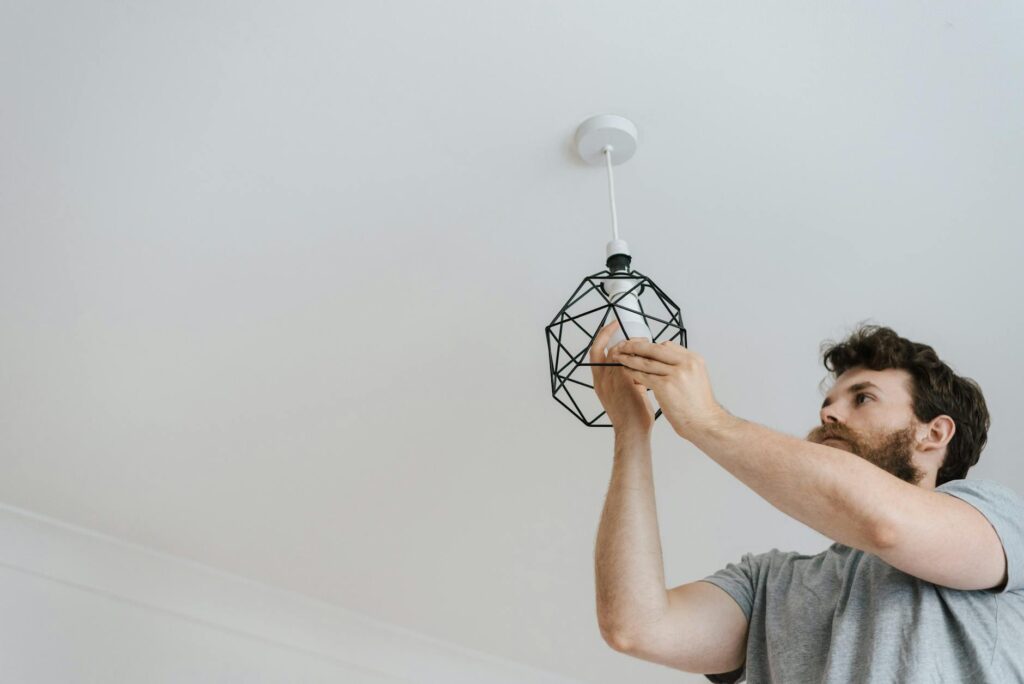
The bulb is crucial for the lava lamp’s functionality. If your lamp stops working properly, the first step should be to check the bulb. Bulbs have a limited lifespan and are easily replaceable. Make sure to purchase the correct type and wattage. For guidance, consult the lamp’s manufacturer’s instructions.
Repairing the Base and Cap
If the metal parts of your lava lamp show signs of wear or damage, some light cleaning or painting can bring it back to life. However, if the base or cap is severely damaged, it might be time to look for a replacement lamp as these parts are crucial for the lamp’s stability and safety.
Wax That Won’t Melt
Occasionally, the wax within the lamp might not melt properly, appearing clumpy instead of forming smooth blobs. This can be a sign of a bulb that’s too weak or an issue with the lamp’s internal temperature regulation. Trying a new bulb is a good first step, but if problems persist, the lamp may need to be replaced.
Dealing with Electrical Issues
Electrical problems, such as a faulty switch or cord, pose safety risks and should be handled with care. While some may feel comfortable replacing a lamp cord or switch, this task might be better left to a professional or could indicate it’s time for a new lamp, especially if the repair costs exceed the lamp’s value.
When to Opt for Replacement
While many issues with lava lamps can be fixed, there are times when replacement is the best option. Consider a new lamp if:
– Repairs are costly or complicated.
– The lamp has sentimental value but is beyond repair.
– You’re seeking an updated model with more features.

Conclusion
DIY lava lamp repair can be a fulfilling project, offering both a sense of achievement and a way to extend the life of your beloved lamp. However, understanding when to repair and when to replace is key to ensuring your decor remains both safe and stylish.
Frequently Asked Questions
– How long do lava lamps last? Typically, with proper care, lava lamps can last for many years.
– Can I replace the liquid in my lava lamp? Yes, but it’s recommended to follow specific instructions to ensure safety and proper functioning.
– Where can I find replacement parts for my lava lamp? Many replacement parts can be found online or through the lamp’s manufacturer.


