
How to Install Low-Voltage Landscape Lighting: A DIY Weekend Project
Transforming your outdoor space into a nighttime wonderland doesn’t have to be complicated or expensive. Installing low-voltage landscape lighting is a great DIY project that you can complete over a weekend. Not only will it enhance the beauty of your garden or yard, but it also adds security to your home. In this article, we’ll guide you through the entire process, step-by-step.
Why Choose Low-Voltage Landscape Lighting?
Low-voltage landscape lighting is an excellent choice for homeowners. These systems are relatively easy to install and energy efficient. They operate at 12 volts compared to the standard 120 volts, making them safe to work with and less costly to run. The versatility and wide range of options available make it easy to achieve the right effect for your outdoor space.
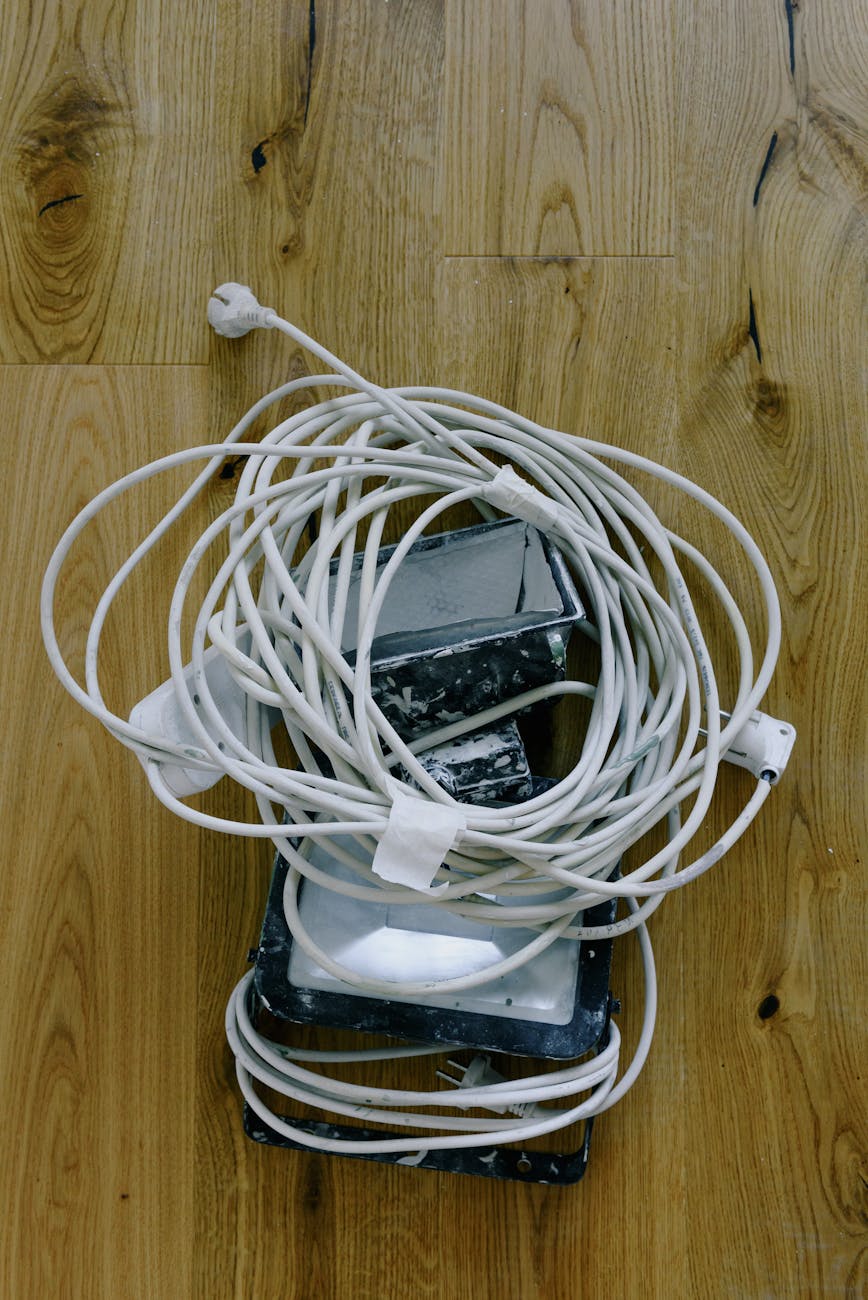
Materials and Tools Needed
- Transformer: This reduces household current from 120 volts to 12 volts.
- Low-voltage cable: Used to connect the transformer to the light fixtures.
- Lighting fixtures: Available in various styles like path lights, spotlights, and floodlights.
- Wire connectors: To connect wires securely.
- Shovel or spade
- Cable trenching tool (optional)
- Drill with appropriate bits
- Wire strippers
- Timer or photocell (optional, for automation)
Step-by-Step Installation Guide
1. Plan Your Layout
Begin by sketching a layout of your yard and plan where each light will be placed. Consider high-traffic areas, pathways, and garden features that you want to highlight. Use flags or small stakes to mark where each fixture will go.
2. Set Up the Transformer
Mount the transformer close to a power source. It should be within easy reach of a grounded outdoor electrical outlet. Follow the manufacturer’s instructions to connect the transformer securely.
3. Lay Out the Cable
Arrange the low-voltage cable along the ground based on your planned layout. Lay the cable on top of the soil initially to ensure you have enough length. Avoid stretching the cable too tight.
4. Connect the Lights
Tip: Read the instructions provided by each light fixture’s manufacturer for specific connection details.
Using wire connectors and a wire stripper, attach each light fixture to the main cable. Ensure the connections are secure to prevent moisture penetration that could lead to corrosion.
5. Test the System
Before burying any cables or mounting fixtures permanently, test your system. Turn on the power to the transformer and ensure all lights work as intended. Adjust the fixtures’ placement and angle as needed to achieve the desired lighting effect.
6. Bury the Cable and Secure the Fixtures
Once satisfied with the setup, it’s time to bury the cable. Use a shovel or cable trenching tool to dig a shallow trench about 3 inches deep. Carefully place the cable in the trench and cover it with soil. Mount the light fixtures securely following the manufacturer’s guidelines.
7. Add Automation
Consider adding a timer or a photocell to automate your lighting system, so it turns on at dusk and off at dawn. This is an optional but convenient feature.
Enjoy Your Illuminated Outdoor Space
With these easy steps, you can illuminate your outdoor space effortlessly, enhancing its beauty and safety. Whether you’re having a summer barbecue or enjoying a quiet evening in the garden, your low-voltage landscape lighting will create the perfect ambiance.
Now that you know how to install low-voltage landscape lighting, what are you waiting for? Grab your materials and tools, and get started on this rewarding DIY project today!