
How to Make a DIY Lamp from (Almost) Anything
In the realm of home decor, nothing quite captures the spirit of creativity like a unique, handcrafted lamp. Whether your style is minimalist, rustic, or eclectic, creating a DIY lamp allows you to add a personal touch to your space. With a little imagination and some basic materials, you can transform almost any object into a functional piece of art. In this guide, we’ll walk you through the process of building your own lamp using items you may already have at home!
Gathering Your Materials
Before embarking on your DIY lamp project, you’ll need to gather a few essential materials. Here’s a basic list to get you started:
- Lamp Kit: You can purchase a lamp kit from hardware stores or online. These kits usually include a lamp socket, cord, and a plug.
- Drill: You’ll need a drill to create holes in your base object if necessary.
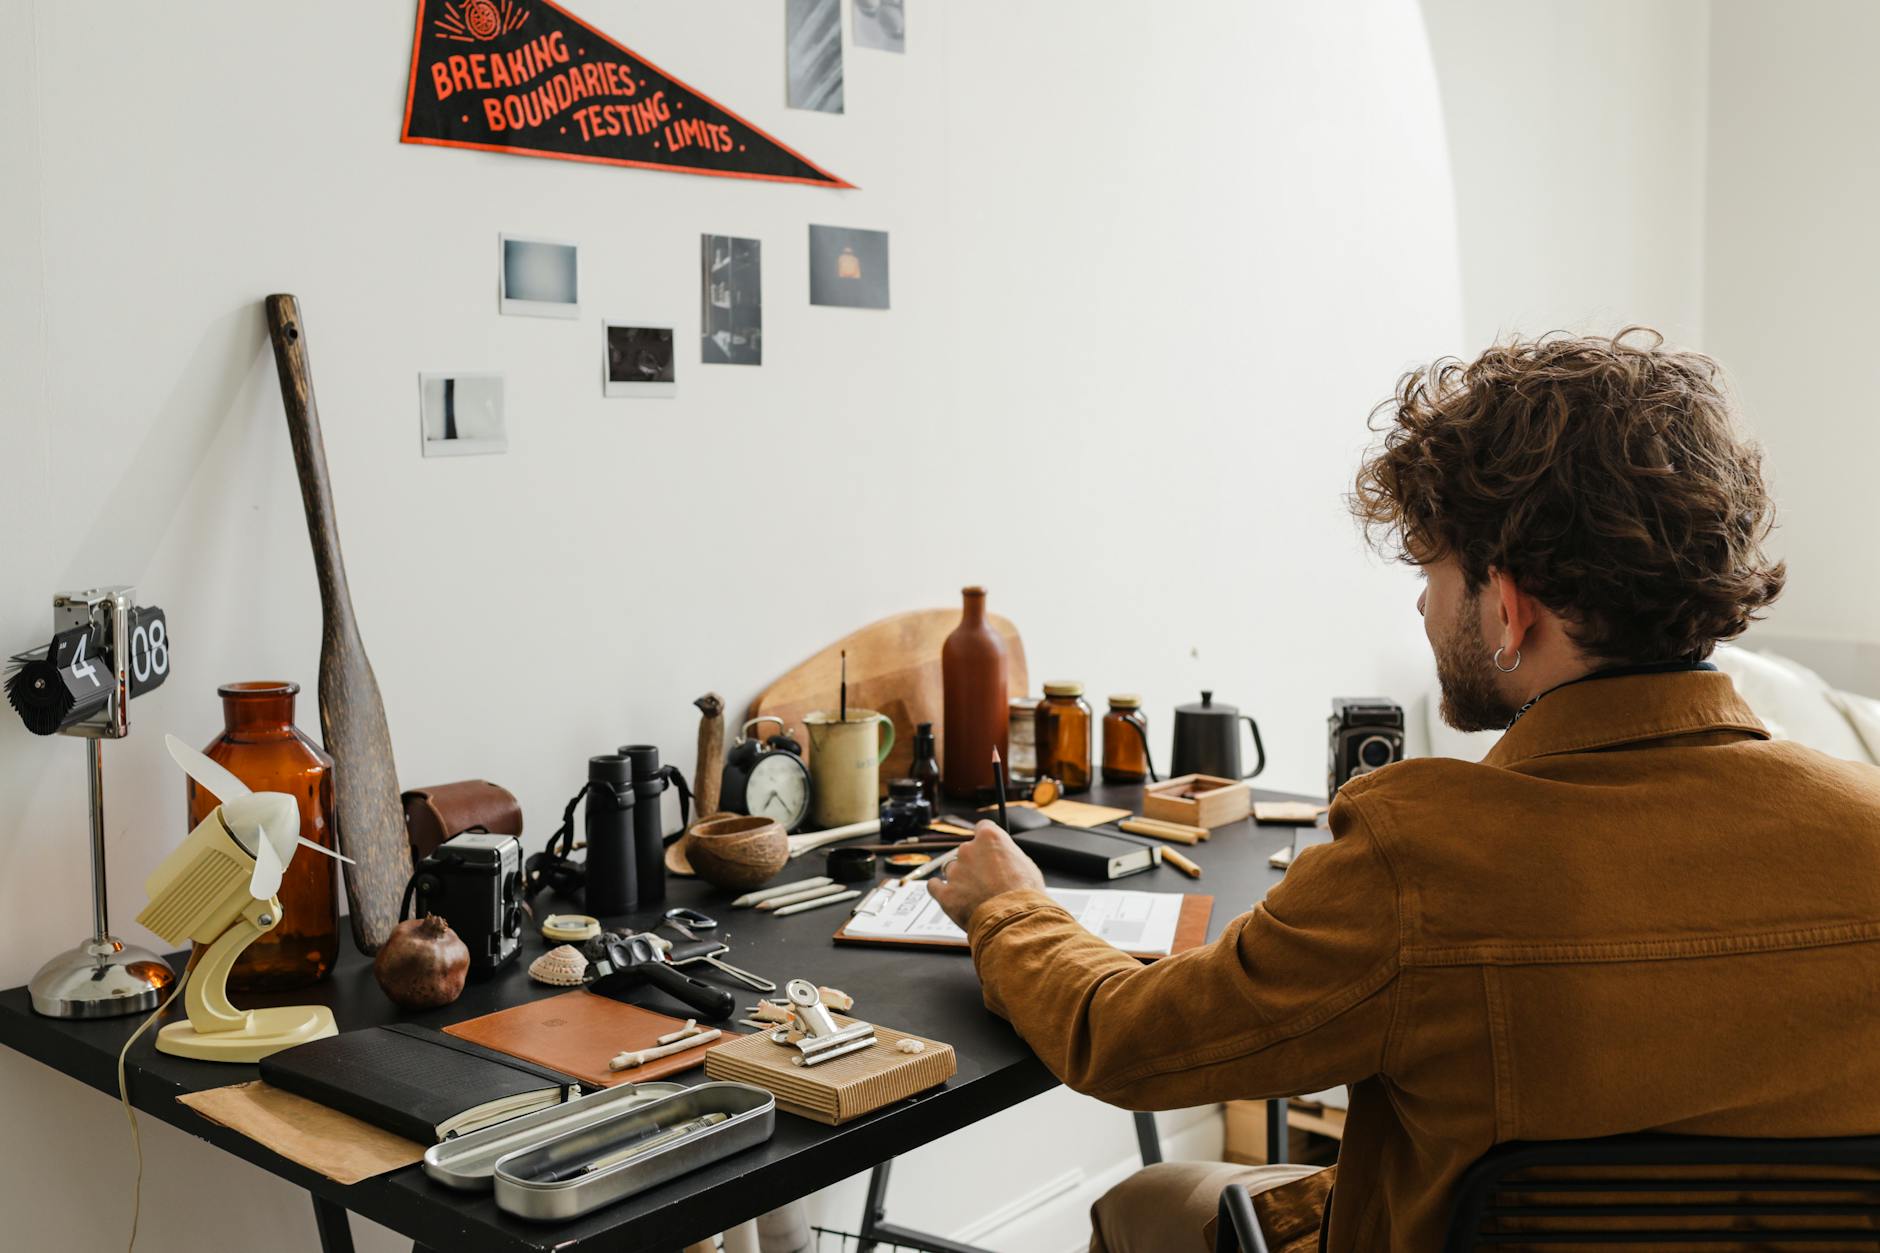
- Base Object: Nearly any object can serve as a lamp base. Consider using items like a vase, a stack of books, or even a bottle.
- Lampshade: Either purchase a new lampshade or repurpose one from an old lamp.
- Light Bulb: Choose a bulb that fits your lamp socket and suits your lighting needs.
Choosing the Perfect Object
When selecting an object for your lamp base, think outside the box. Here are a few creative ideas to spark your imagination:
- Vases or Jars: These are classic choices that offer stability.
- Old Books: Stack them in an interesting pattern for a literary touch.
- Bottles: Empty wine or liquor bottles can add a charming vintage appearance.
- Sporting Equipment: Turn an old baseball bat or tennis racket into a lamp for a sporty theme.
- Natural Elements: Driftwood or large rocks make for fascinating, organic bases.
Step-by-Step Instructions
Once you’ve chosen your base, it’s time to get to work. Follow these steps to assemble your lamp:
Step 1: Prepare the Base
Ensure that your base object is sturdy and can support the weight of the lamp kit and light bulb. If your object is hollow (like a vase or bottle), this will be easier. For solid objects, you’ll need to drill a hole to accommodate the lamp rod.
Step 2: Install the Lamp Kit
Feed the lamp cord through the hole in your base object. Assemble the lamp rod and socket as per the instructions provided in your kit. Secure the socket to the lamp rod, ensuring it’s tight and stable.
Step 3: Attach the Lampshade
Once the socket is in place, attach your chosen lampshade. Make sure it fits securely on the socket and doesn’t wobble.
Step 4: Add the Light Bulb
Screw the light bulb into the socket. Choose a bulb with appropriate wattage to provide the desired level of illumination.
Step 5: Test the Lamp
Plug your lamp into a power source and test it to make sure everything works correctly. Adjust any loose parts and ensure the lamp stands upright.
Finishing Touches
With the lamp functioning well, you can add any final touches. Consider decorating the base or shade with paint, fabric, or other embellishments to match your decor.
Why DIY Lamps?
Creating a DIY lamp not only offers a sustainable way to recycle and repurpose materials but also allows endless customization. Your lamp can become a conversation piece and point of pride in your home. Plus, it’s a fun project that can be completed in an afternoon.
Now that you know how to make a DIY lamp from almost anything, it’s time to get started! Look around your home for potential base objects and unleash your creativity. Happy crafting!