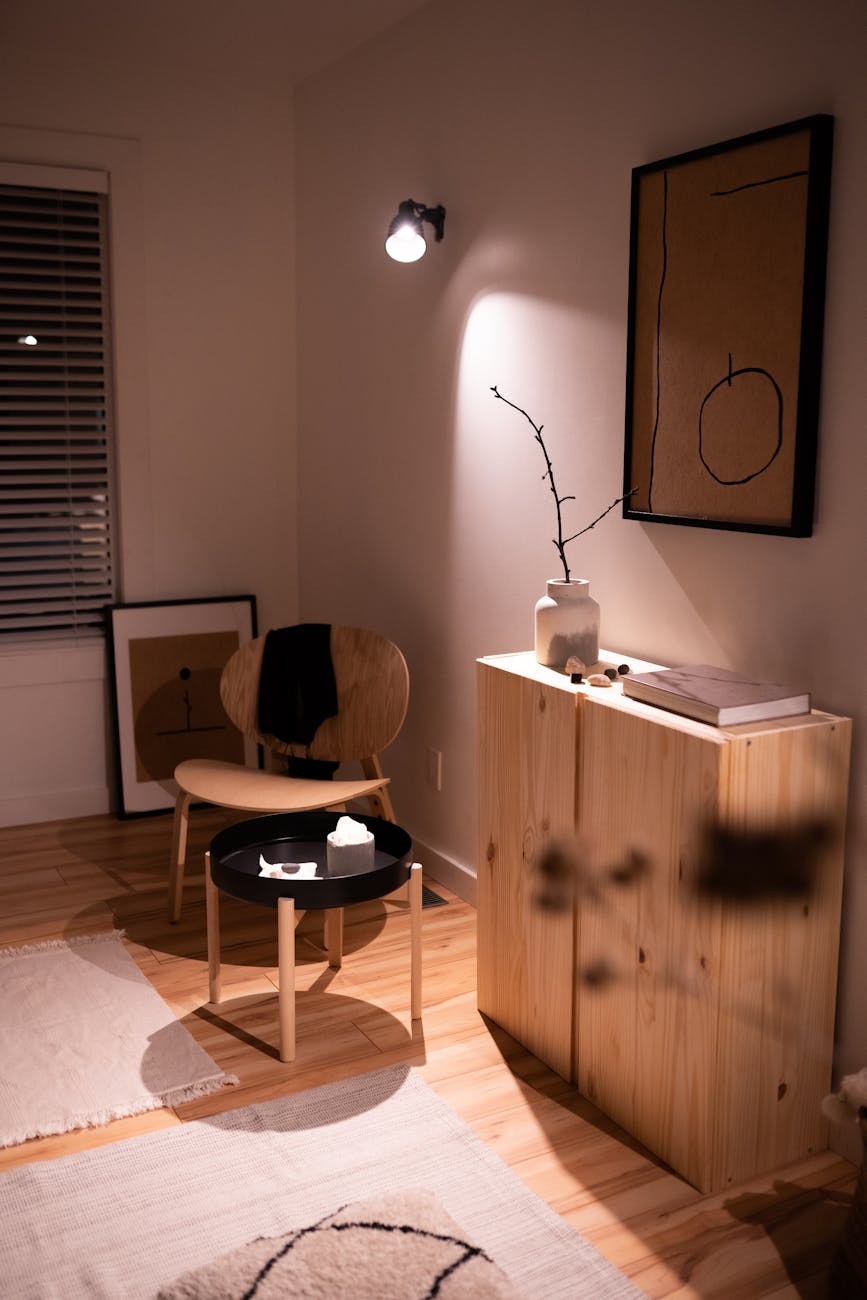
How to Update an Old Lamp with Spray Paint
Giving an old lamp a new lease on life is easier than you might think. Whether you’ve found a thrift store gem or are looking to refresh a piece you already own, spray painting is a simple, inexpensive way to rejuvenate any lamp. This step-by-step guide will walk you through the process of updating an old lamp with spray paint, transforming it into a stylish, unique piece for your home.
Materials Needed
- Old lamp
- Sandpaper (220 grit)
- Primer (spray paint form)
- Spray paint (color of your choice)
- Painter’s tape
- Drop cloth or newspaper
- Lint-free cloth
- Optional: clear sealant spray
Steps to Transform Your Lamp
1. Prepare Your Workspace
Spray painting can get messy, so make sure to work in a well-ventilated area. Lay down a drop cloth or newspaper to protect your surroundings. Ensure you have plenty of space to maneuver uninterrupted. If possible, work outdoors or in a garage with the door open.
2. Disassemble the Lamp
Remove the lampshade and any detachable parts of the lamp. Set aside any pieces you do not want to paint. If the cord is detachable, remove it to avoid getting paint on it. For non-detachable cords, cover them with painter’s tape to protect them from overspray.
3. Clean the Lamp
A clean surface is crucial for spray paint to adhere properly. Use a lint-free cloth to dust off the lamp. If it’s particularly grimy, use a mild detergent solution, making sure to dry thoroughly with a cloth afterward.
4. Sand the Surface
Using 220-grit sandpaper, gently sand the surface of the lamp to remove any existing finish and to create a rough texture for the primer to adhere to. Wipe away any dust residue with your lint-free cloth.
5. Prime the Lamp
Apply a layer of primer to the lamp. This step is essential for ensuring the spray paint adheres well and lasts long. Primer also helps to prevent rust on metal lamps. Spray the lamp with smooth, even strokes, keeping the can at a consistent distance. Allow the primer to dry completely as per the product’s instructions.
6. Spray Paint the Lamp
Once the primer is dry, it’s time to get creative! Choose a spray paint color that complements your décor. Apply several thin coats of spray paint, allowing each to dry before applying the next. This prevents drips and gives a more polished finish. Ensure even coverage by moving the can steadily and keeping it at the same distance from the lamp.
7. Optional: Finish with a Clear Sealant
For added protection, you might consider applying a clear sealant. This extra step can enhance the durability of your paint job, especially if the lamp will experience heavy use or is situated in a high-traffic area.
8. Reassemble and Enjoy
Once the paint is fully dry, remove any painter’s tape and reassemble your lamp by attaching the shade and any other parts you set aside. Plug it in, and admire your handiwork—it’s as if you have a brand-new lamp!
Conclusion
Transforming an old lamp with spray paint is a rewarding DIY project that can breathe new life into your décor. By following these simple steps, you can create a customized lamp that perfectly fits your personal style, all while staying on budget. Don’t hesitate to give it a try—your creative potential is limitless!


