Introduction
Installing a ceiling fan in your home can be a simple and budget-friendly project that you can undertake without the need for a professional electrician. It’s a suitable way to increase your indoor comfort while also adding an aesthetically pleasing touch to your living space. This step-by-step guide aims to simplify the process of a successful and safe ceiling fan installation for DIY enthusiasts.
Before You Begin
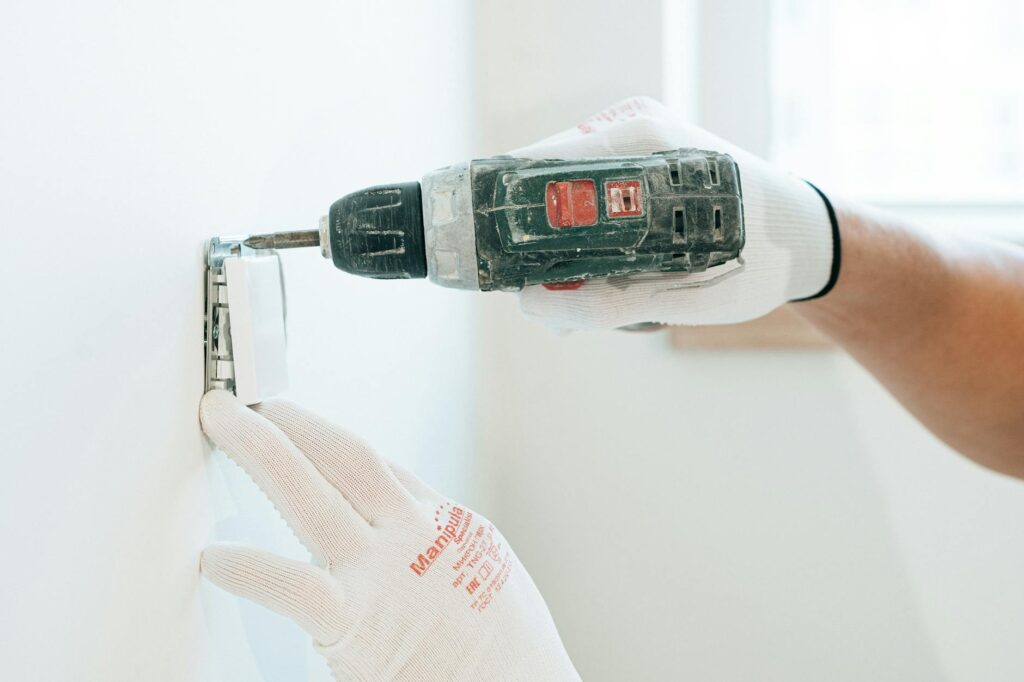
Before you start the installation process, it’s important to gather all the necessary tools and safety equipment. You’ll need a ladder, screwdrivers, pliers, wire strippers, a circuit tester, and safety glasses. Don’t forget to assemble your ceiling fan following the manufacturer’s instructions as well.
You should also be aware of your current electrical setup. Most ceiling fans require a black wire for the fan, a blue one for the light, a white wire as the neutral connection, and a green or bare wire as the ground. If you’re replacing a ceiling light with a fan, ensure you buy a fan with a built-in light fixture or one with optional light add-on to compensate for the lost light source.
Step 1: Turn Off the Power
The first and most critical step is to turn off the power at its source. Do this by switching off the circuit breaker or fuse that controls the power to the fan’s circuit. Safety should always be a priority when dealing with electrical installations. Confirm the electricity is turned off by using a circuit tester or trying the light switch to test for power.

Step 2: Prepare the Ceiling Fixture
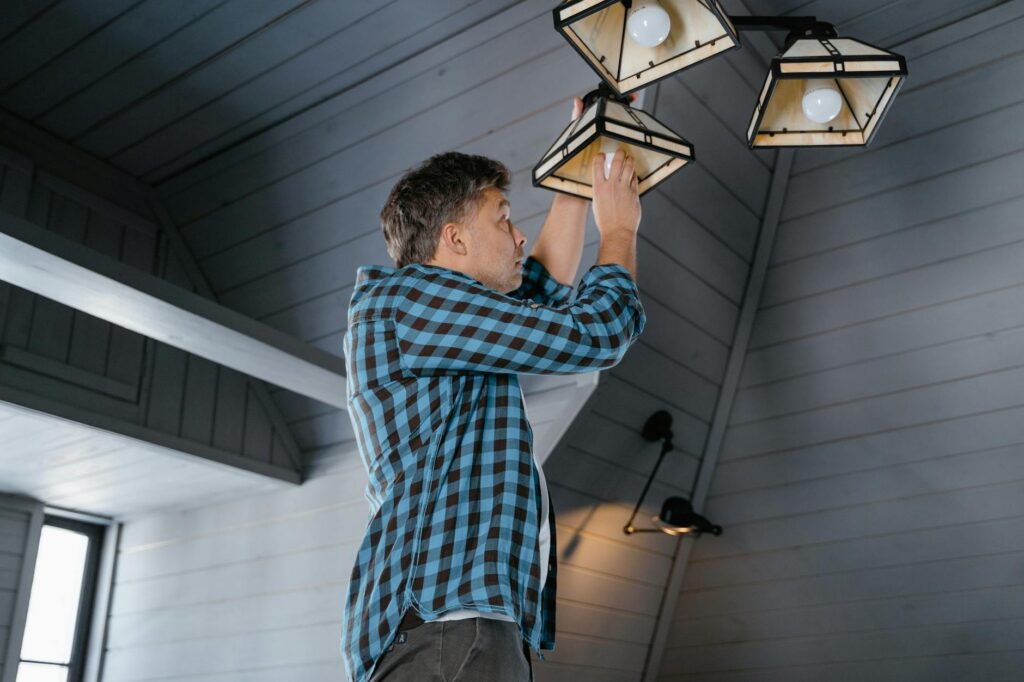
Remove the old light fixture if it’s still there. You need to loosen the screws and carefully pull the fixture out of the ceiling box. Be cautious and disconnect the wiring attached to the old fixture by unhooking the wire connectors.
Step 3: Inspect the Mounting Bracket
The mounting bracket or ceiling plate is what holds your ceiling fan in place. If you’re replacing a ceiling light, the existing bracket might not be strong enough to support your fan. Most ceiling fans come with their own mounting brackets, so you can use the one provided. Attach this to the ceiling box using the screws provided with your fan.
Step 4: Assemble the Fan
Before you hang the fan, assemble the downrod if one is included with your ceiling fan. Attach this downrod to the top housing of the fan, then secure the ball mount at the upper end of the downrod. This might change based on the type and model of the fan. Don’t tighten everything completely; the parts often need a bit of play for the fan to hang properly.
Step 5: Connect the Wires
This is perhaps the most technical part of installing a ceiling fan. Ensure you match the wires correctly: white to white, black to black, and so on. There’s usually a green or a bare wire that needs to be connected to a green grounding screw or the bare wire from the ceiling. Finish off by using a plastic wire nut to secure each connection.

Step 6: Attach the Blades and Lights
Usually, you attach the fan blades after installing the motor to reduce the weight you have to lift. Most blade assemblies consist of a couple of screws to secure the blades to the blade iron and then the whole assembly to the fan motor. Follow your fan installation instructions for this step.
To install the lighting, assemble the light fixture based on your model’s instructions. For most models, you’ll need to make a few simple wire connections before screwing the fixture to the fan. Once done, screw in the light bulbs and attach the glass or globe.
Step 7: Turn On and Test
Now that everything is installed, turn the power back on at the circuit breaker and test the fan and light operation. All fan arms should be at the same height. If the fan wobbles, turn it off and ensure all connections are properly secured.
Conclusion
And there you have it – a newly installed ceiling fan in your room! With some basic tools and the willingness to follow instructions precisely, you can enjoy the comfort and savings a ceiling fan brings to your space without needing an expert’s help. However, if you do encounter a problem setup that you’re not confident handling, don’t hesitate to call a professional to ensure a safe and correct installation.


