Creating a stunning gallery wall can transform a room from drab to fab! It’s a fantastic way to showcase your cherished memories and personal style. But where do you begin? This step-by-step guide will walk you through the process, ensuring your gallery wall is the showstopper you’ve always envisioned.
Planning Your Gallery Wall
Before hammering a single nail, careful planning is crucial. Consider the space you have available, the style of your room, and the overall aesthetic you want to achieve. Think about the size and shape of your wall, and whether you prefer a symmetrical or asymmetrical arrangement. This is where sketching your ideas on paper, or even using a digital tool like Roomstyler 3D Home Planner, can be incredibly helpful.
Choosing Your Artwork
Gathering your artwork is the fun part! This could include family photos, prints, paintings, postcards – anything that holds sentimental value or complements your room’s decor. Remember, variety is key. Mix different sizes, shapes, colors, and frames to create visual interest. Don’t be afraid to experiment with textures! You can even incorporate three-dimensional elements, like a favorite sculpture or a vintage clock.
Arranging Your Artwork
This is where your planning comes into play! Lay out your artwork on the floor, rearranging until you’re happy with the arrangement. Consider the spacing between pieces – a good rule of thumb is to leave around 2-3 inches between frames. You can take a photograph of your arrangement to visualize it on the wall. You might find a simple online tool like Adobe Express helpful for this.
Measuring and Marking
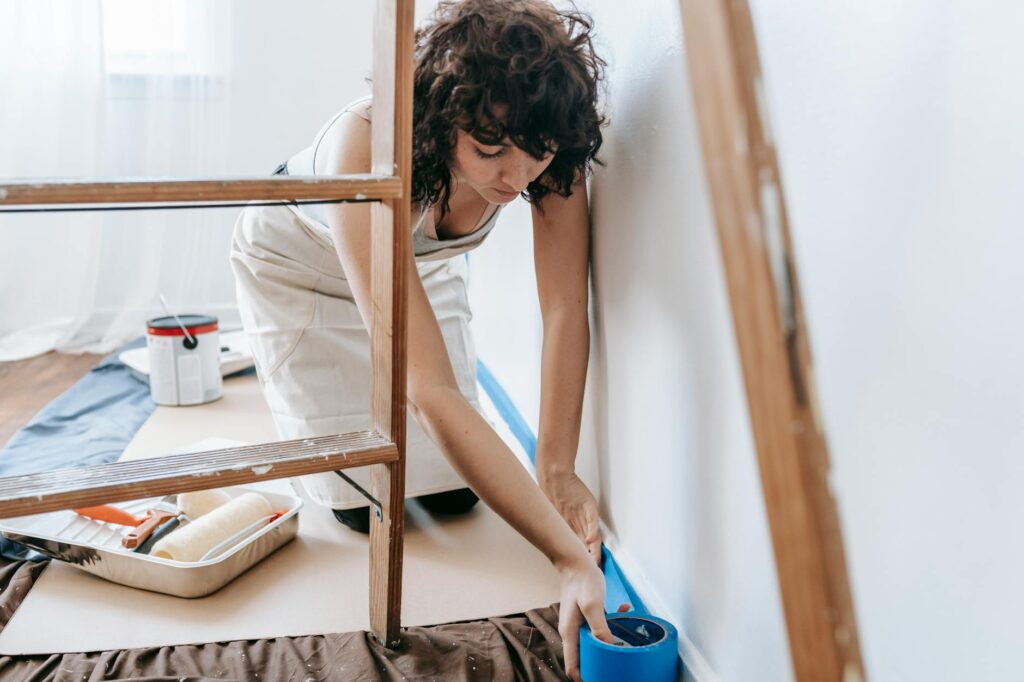
Once you’re happy with your arrangement, it’s time to transfer it to the wall. Use a tape measure to determine the exact placement of each piece. Lightly mark the center of each piece on the wall using a pencil. This step is essential for creating a balanced and well-proportioned gallery wall. If you’re working with a large collection, consider using painter’s tape to outline the entire wall space to ensure you keep everything balanced and within proportion.
Hanging Your Artwork
Now comes the most satisfying part: hanging your artwork! Start with the largest piece, positioning it according to your markings. Use appropriate hanging hardware for each piece, ensuring it’s securely fastened to the wall. Check our guide on Choosing the Right Hanging Hardware for more details. For heavier pieces, you might need more sturdy wall anchors. You can check local hardware stores for a better understanding of the specific anchors you might require.
Stepping Back and Assessing
After hanging everything, take a step back and admire your handiwork! Assess the overall balance and symmetry (or asymmetry) of your gallery wall. Make any necessary adjustments. Sometimes, even a slight shift can make a huge difference. This is the point where you can use another digital tool like Planner 5D for some fine tuning, and make use of the software’s visual tools to rearrange digitally.
Adding Finishing Touches
The final touches can really elevate your gallery wall. Consider adding some decorative elements, such as small shelves or lighting. This can add depth and visual interest to your display. For lighting, you can consider LED strip lights that will softly highlight the artwork, and add a subtle layer of ambient light to the area.
Conclusion
Creating a flawless gallery wall is a rewarding project. With careful planning, attention to detail, and a bit of patience, you can create a stunning focal point in your home that reflects your personality and style. Remember, it’s your wall – have fun and don’t be afraid to experiment! 
Frequently Asked Questions
What type of hanging hardware should I use? The type of hanging hardware you use will depend on the weight and size of your artwork and your wall type. We suggest checking out our guide on Choosing the Right Hanging Hardware for a more detailed explanation.
How do I ensure even spacing between frames? Use a tape measure to consistently maintain the desired distance between frames. Laying out your artwork on the floor beforehand can help you plan the spacing effectively.
What if I make a mistake? Don’t worry! Mistakes happen. Use a putty knife to remove any stray nail holes and repaint or patch as needed. It’s always possible to rearrange your pieces.
What are some creative ways to arrange my artwork? Consider creating a geometric pattern, a chronological timeline, or a thematic grouping of your artworks. Using an online resource like Gallery Wall Arrangement Ideas may also help.
Can I use different frame styles in one gallery wall? Absolutely! Mixing frame styles and sizes can add visual interest and depth to your gallery wall. Just make sure the overall style remains cohesive.


